February 25, 2016

Come walk in our Winter Woodland Forests


Imagine your own Winter Wonderland Forest...
They did.

This art project was awesome! I found a few crayon resist art images on Pinterest (with no links to any websites-sorry, no references). With a few requirements of trees and branches, I let the students be creative. Here is what they came up with:


Crayon & Watercolor Resist Art Project


 Materials Needed: 

  • white or light blue paper
  • white crayon and brown crayon (for branches)
  • other crayon colors (for cabin or animals if desired)
  • watercolors & brush (for trees, sky and ground)

*   *   *   *   *   *   *   *   *   *   *   *   *   *   *  
  • They had the choice of using white paper(with brown branches) or light blue paper(with white branches). 
  • All they needed to do is make sure their trees and ground has plenty of white crayon snow to create a colorful WINTER WONDERLAND! I love these!


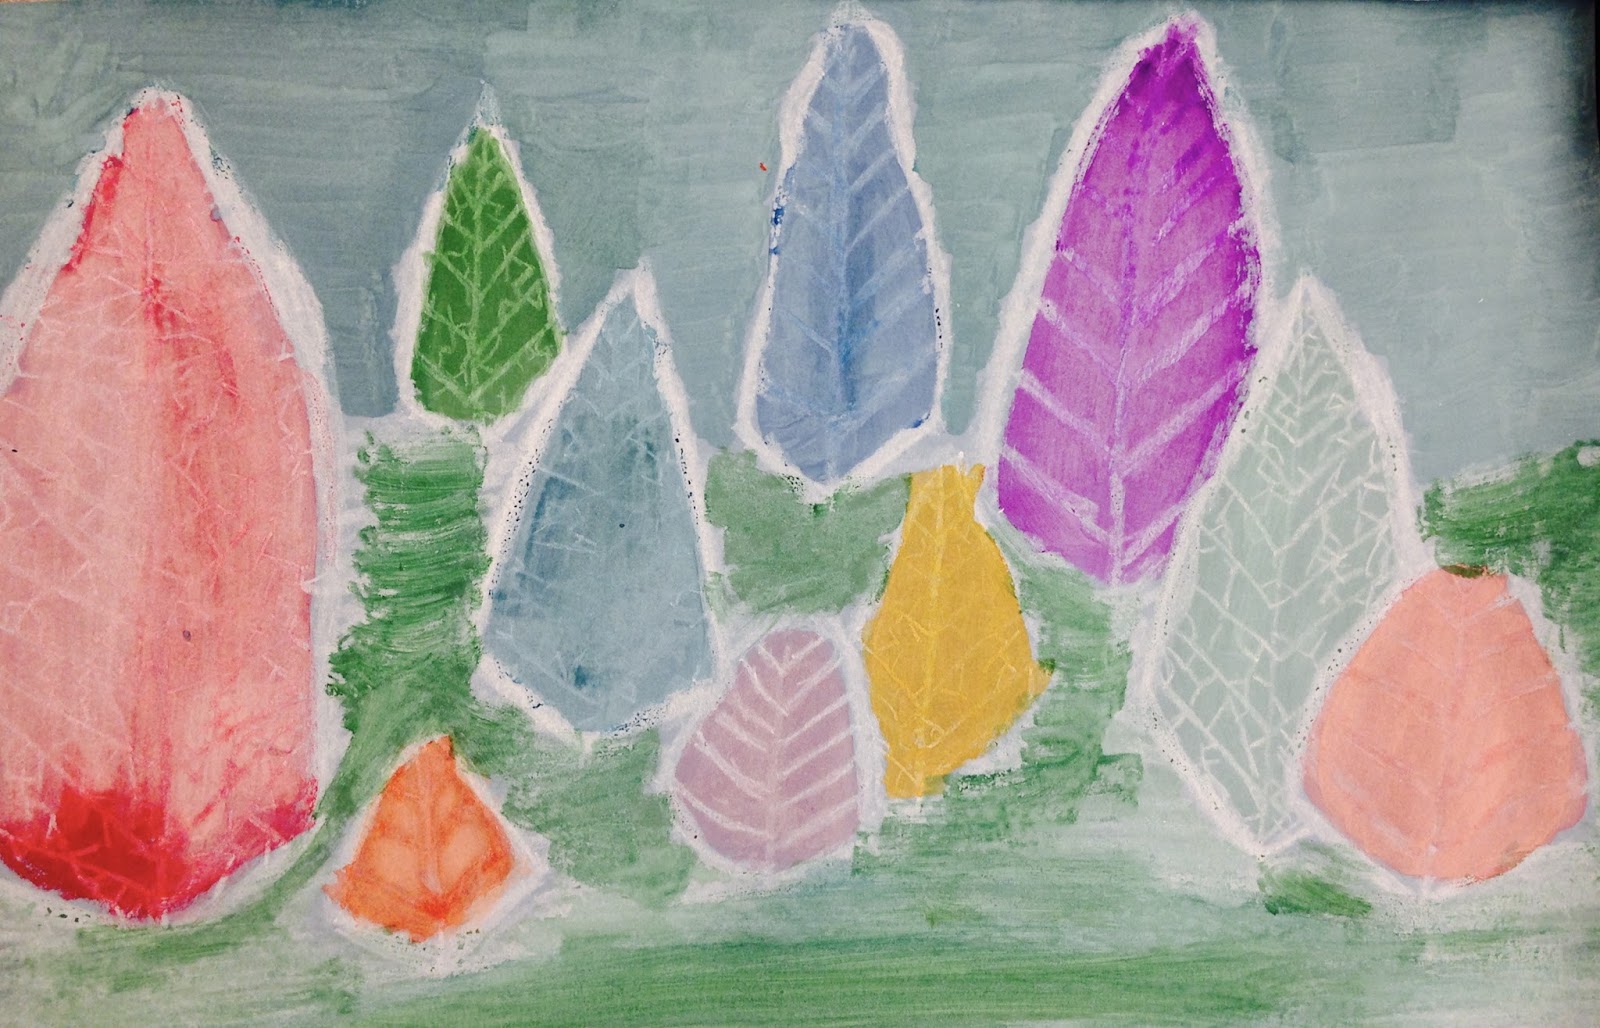
Two clear examples of WHITE and LIGHT BLUE paper:

Crayon on White paper

Crayon on Light Blue paper


Wouldn't you love to walk in their Winter Forests!


February 19, 2016

a Sneak Peek @ my Starry Starry FOX collection


 Starry Starry Fox collection has been inspired by my own children. For quiet a while I have been wanting to create a woodland series for adults and children to enjoy. I believe that most adults do not grow out of being young at heart.


<<<<<<<<<>>>>>>>>> 


These are super soft, versatile hand towels for the kitchen or bathroom. They are handcrafted, hand carved, and printed by me with much care. I am so excited to share them with you.

If you wish to know when my items will be available with 30% off during the grand opening, click here to sign up for my EXCLUSIVE LIST! I never spam.


Playfully Quaint


February 12, 2016

PRESIDENTS' DAY art project Part 2:George Washington on the United States Flag {Collaborative Collage Tutorial}


Can I just copy and paste this section from the previous post Presidents' Day art project Part 1?:   wa wa wa

This is an excellent collaborative art project for Presidents' Day! We created Abe Lincoln {Newspaper Abe tutorial here} a few years back, and then added to our collection George Washington & Thomas Jefferson recently. Once again we had about 80+ kids contributing to make each of them. 

This was a fabulous patriotic art project to participate in with the students. They were able to reflect on the history and using words that represent our country.

George Washington on the 
 American Flag

George Washington {Tutorial} on Canvas Material: 

Materials:
overhead projector
president on transparency paper, Here: site for George Washington's image
canvas material to fit your image
canvas stretched or wood board (for the image to adhere and hang on wall)
black, red, & blue permanent markers
red & blue material markers
heavy books
large brush
plastic cling wrap


I used canvas material (can find at a any material store in bulk) instead of paper, for this project because I wanted it resemble the texture of a real flag. I regret I didn't end up with too many photos of this project while working on it with the kids. I had to watch them like a hawk!

1- Please first go to Newspaper Abe {Tutorial} to see all of the steps that I will not be covering.

2- First I projected and traced an image of Pres. Washington and then the United States Flag. I used black permanent marker for Washington and for the flag I used blue & red material markers.

3- Then I cut the blue rectangle with stars out, and the red stripes out of the flag. I didn't want the students to accidentally write on the white part of the flag or use red on the blue part of the flag or vice versa so we kept them in separate stations. (If you were to make this with an older group, you wouldn't need to cut it out. I would bet that they would not cross colors).

4- We wrote with various reds and blues with permanent & material markers to write PATRIOTIC WORDS & ALL 50 STATES.

5- Next I laid out the complete image onto the wood board, then adhered the canvas strips with Mod Podge one by one. I used plastic wrap and books, just like I showed you in the Newspaper Abe Tutorial. Refer to that tutorial if you have any questions on this process.


Hanging out together... drying... 

Abe Lincoln {click here for tutorial}, George Washington, and Thomas Jefferson {click here for tutorial} getting ready to hang side by side on our school wall.


Buddies.


I do NOT SPAM! You won't be sorry when you get the SUPER SECRETE SALES & SNEAK PEEKS!

Thank you for stopping by 

PRESIDENTS' DAY art project Part 1: Thomas Jefferson {Collaborative Collage Tutorial}

This is an excellent collaborative art project for Presidents' Day! We created Abe Lincoln {Newspaper Abe tutorial here} a few years back, and then added to our collection George Washington & Thomas Jefferson recently. We had about 80+ kids contributing to make each of them. 

This was an amazing art project to participate in with the students. They were able to reflect on history and words that represent our country.

We entered the presidents in a contest and won a prize!

We are representing our 2nd Grade 
Madison Country Patriot Contest. 
SMILE!!!! GOOFY ALL OVER THE PAGE!


Thomas Jefferson on the
Declaration of Independence


Tutorial for Jefferson on Paper:

Materials:
overhead projector
president image on transparency paper
numerous copies of The Declaration of Independence
clear tape
canvas  stretched or wood board (for the image to adhere and hang on wall)
black permanent marker
crayons
heavy books
plastic cling wrap
large brush

1- Please refer to the tutorial of Newspaper Abe Here to get an idea of how the images are copied onto the paper and the adhering process.


2- I used this Declaration of Independence and this image of Thomas Jefferson.

3- I lightly taped the paper together on the back side so the tape would not show on the final image.(Notice I did print on different shades of paper, hence the lighter area of the face)

4- I turned over Thomas Jefferson and randomly cut into strips and then into rectangle shapes. I cut around 90 shapes so each student and teacher would be able to color their own. 

5- Just like in creating Abe, I numbered the backside of each paper in order (1-90) so I could easily arrange Thomas back together. 


6- Students created designs and colored with crayons on their shape of paper.


7-  I sparingly taped the backside of shapes into strips, taping the numbers in order.

8- Flipped it over and used Mod Podge to adhere the strips (easier in strips than the whole image) onto the wood board until image was complete!

9- I use polyacrylic, which is a non-yellowing clear layer and is stronger than Mod Podge, for a top coat on the image.